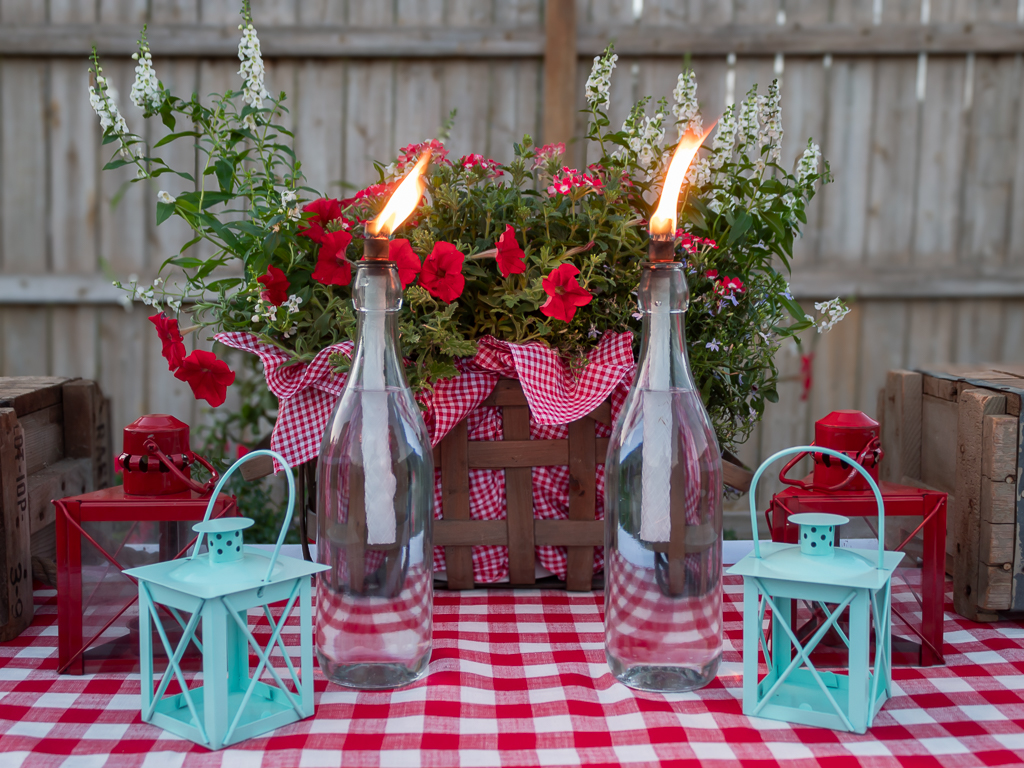
Say goodbye to pesky bugs and enjoy your outdoor summer evenings even more with DIY tabletop citronella torches
*As an Amazon affiliate, I earn from qualifying purchases at no extra cost to you. My blog contains other affiliate links as well for your convenience. To learn more, you may read my Disclosure Policy. Thank you for supporting my blog!
DIY Citronella Torches
We love spending time eating and entertaining outdoors in the summertime.
But the giant-sized mosquitos that take up residence here in Nebraska during the summer months can really put a damper on the party.
These DIY tabletop torches are the perfect solution to help keep the bugs away!
Made with glass bottles and citronella tiki torch fuel, this is a quick and easy outdoor DIY project that anyone can do.
And unlike bamboo torches, these torches are portable!
I’m showing you how to make your own in under 10 minutes, so grab your supplies and get ready to make your summer outdoor evenings more enjoyable.
Table of Contents
- DIY Citronella Torches
- Tools and Supplies Needed to DIY Tabletop Torches
- How To Make Citronella Tabletop Torches
- More Summer DIY Home and Garden Projects You’ll Love
- Set the Mood for Outdoor Entertaining with Your Tabletop Torches
- Did You Enjoy this Post? PIN It for Later!
Tools and Supplies Needed to DIY Tabletop Torches
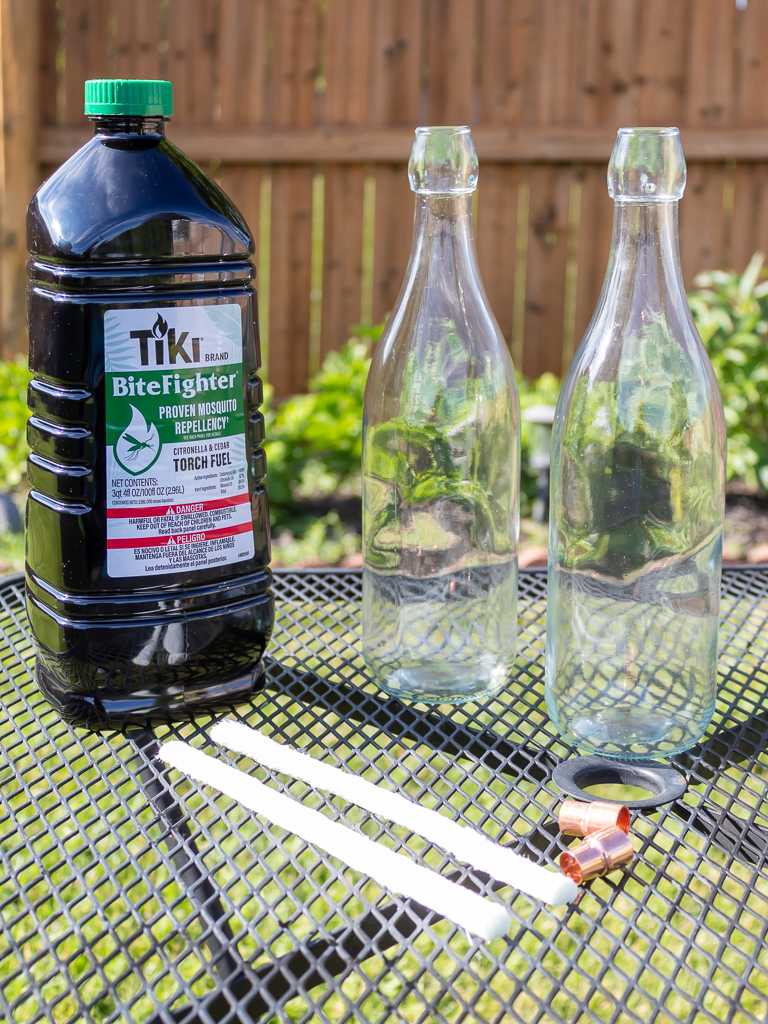
- Tall glass bottle ( A wine bottle or something with a similar opening works great!)
- Citronella torch fuel
- Tiki torch wick replacement
- 1/2″ x 3/8″ copper coupling
- 1/2″ flat washer
- Hot glue gun and glue sticks
- Small funnel
Note: I got most of my DIY supplies at The Home Depot, but you can shop at any home improvement store or online.
How To Make Citronella Tabletop Torches
Step 1: Round up Some Bottles
Upcycled wine bottles are perfect for this project, but if you’re like me and not a big wine drinker, any similar size and style of glass bottles will work just fine.
To make my citronella torches I grabbed two of these swing top glass bottles on sale at the craft store for $6 dollars. All I had to do was remove the metal clasps and stoppers.
If you’re using old wine bottles to make your outdoor tabletop torches, just wash them with warm soapy water first and remove any stickers or labels.
Tip: Use a sticker removal product or a plastic food scraper tool for removing labels and tough stuck-on residue
Step 2: Attach the Washer
Next, use a hot glue gun to attach your washer to the top opening of the bottle.
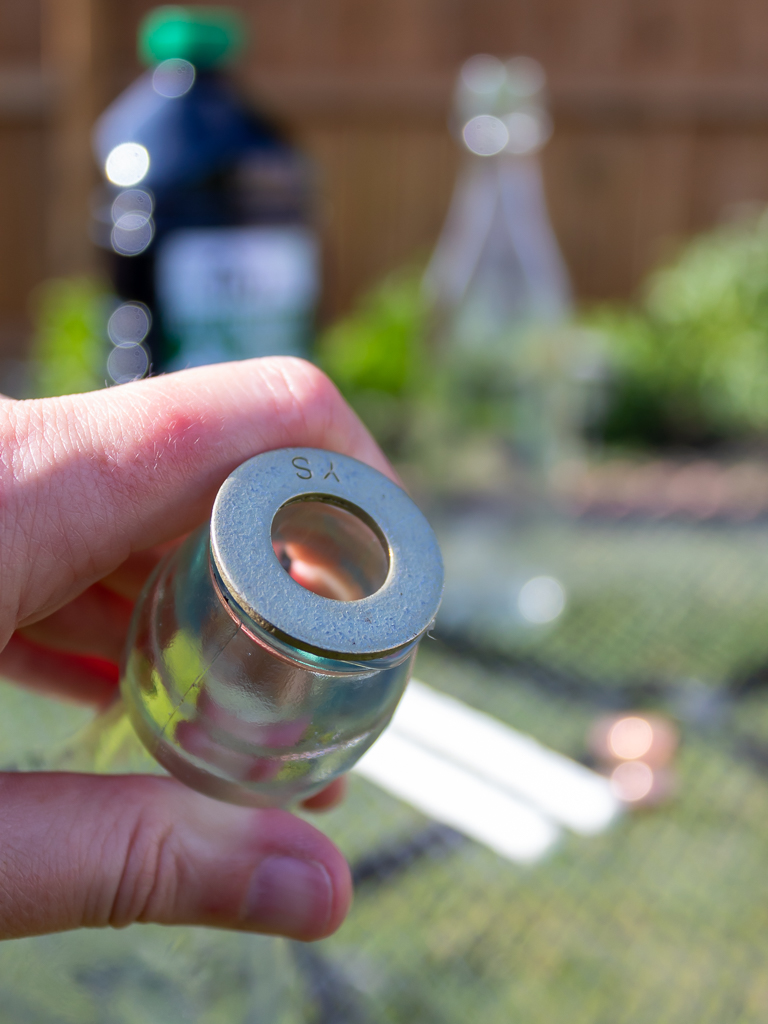
Tip: Not all 1/2″ flat washers are created equal (trust me, I learned this the hard way!). The center hole of the washer needs to be snug around your copper coupling to hold the Tiki torch wick securely.
If the copper coupling fits securely in your bottle opening without slipping you can skip this step.
Step 3: Add Citronella Torch Fuel
Next, use a plastic funnel to carefully pour citronella fuel into each of your table torches until each bottle is about 3/4 full.
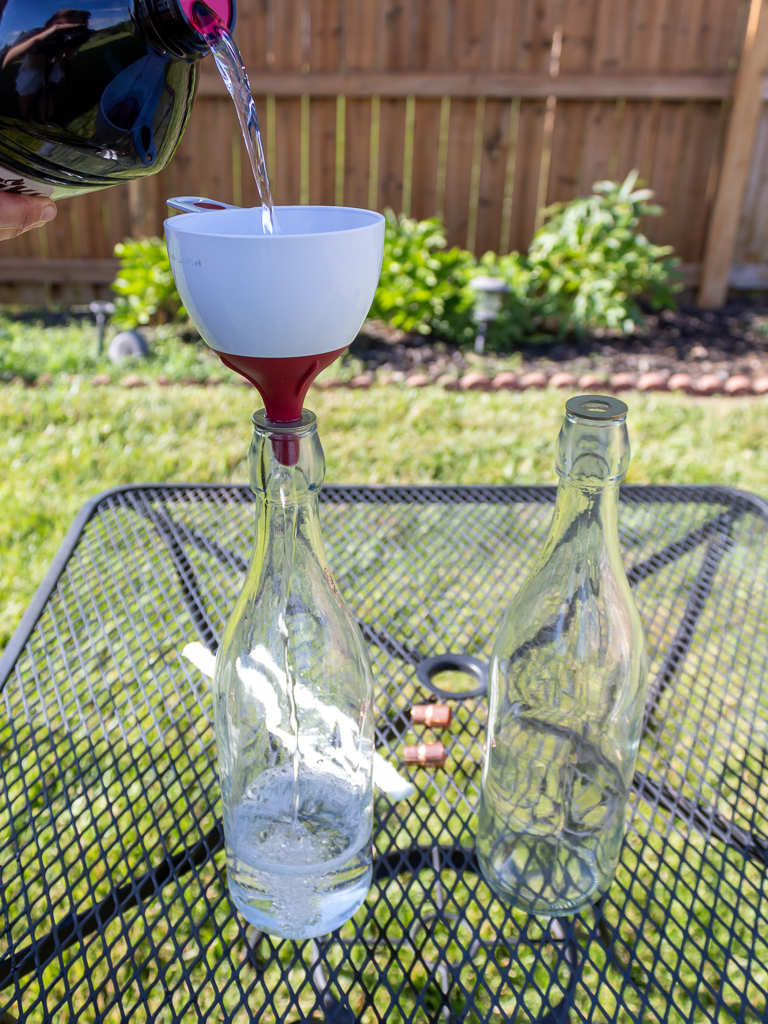
Once you’ve filled your torches store any leftover citronella tiki torch fuel in a cool, dry place away from heat and flames.
Step 4: Assemble and Insert the Torch Wick
To assemble your tabletop tiki torches, slide your torch wick into the copper coupling with the wide end of the coupling facing upwards.
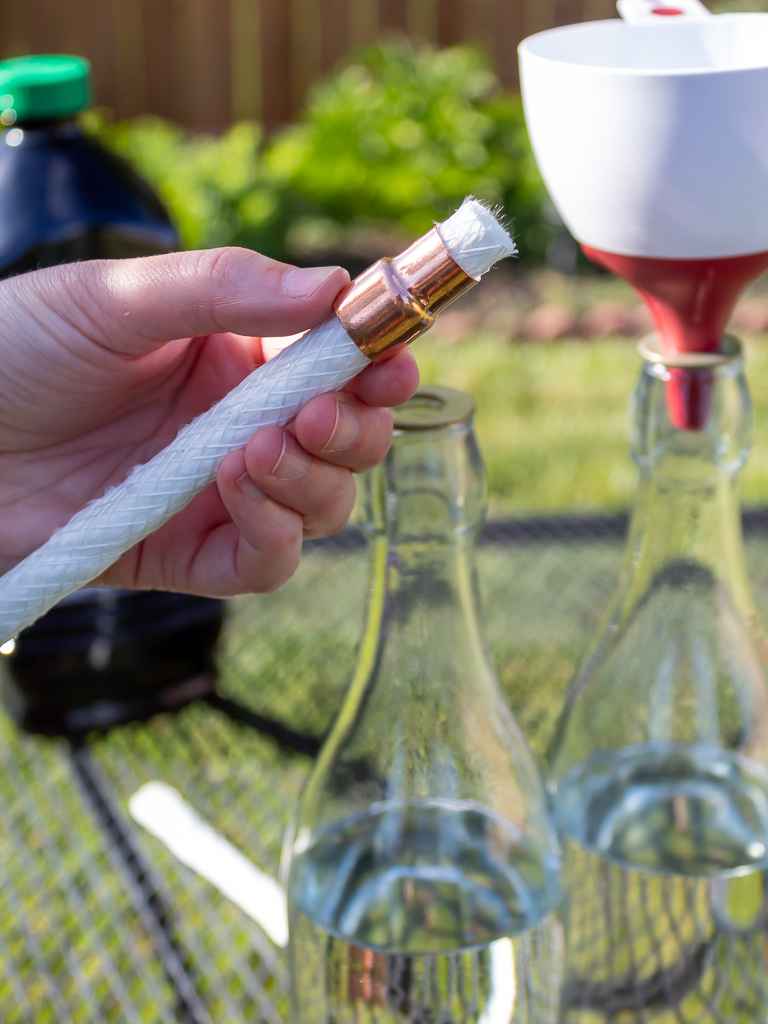
Then, gently push the wick and coupling down into the bottle until the washer catches the coupling leaving about a half-inch of the wick sticking out from the top of the bottle.
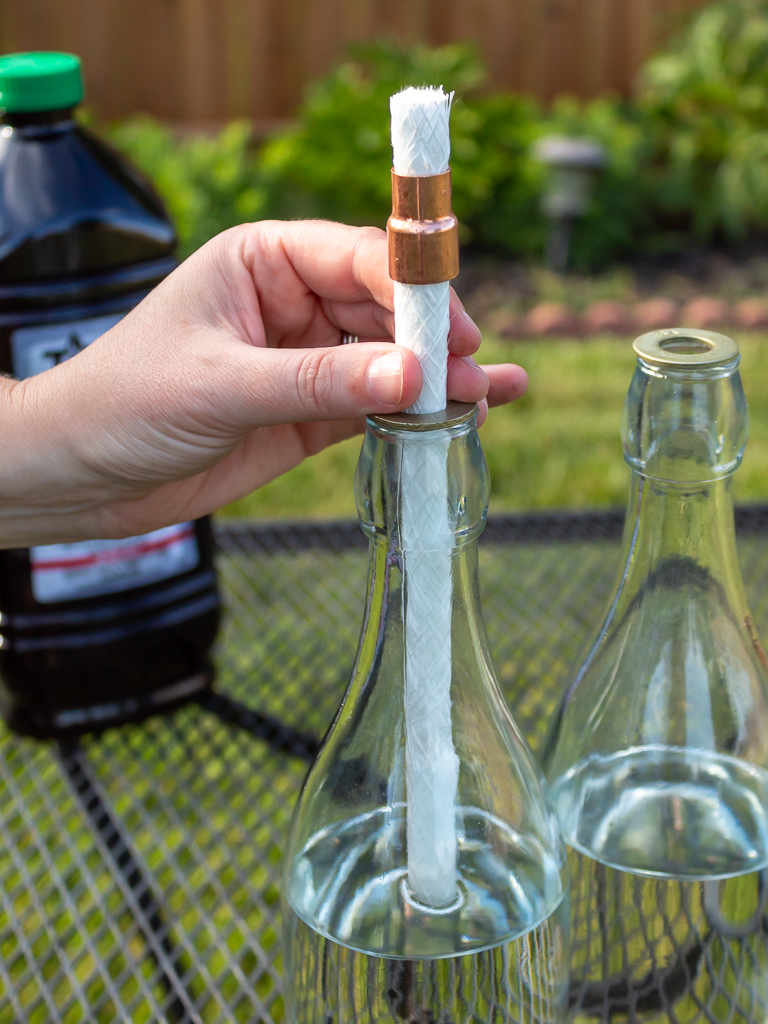
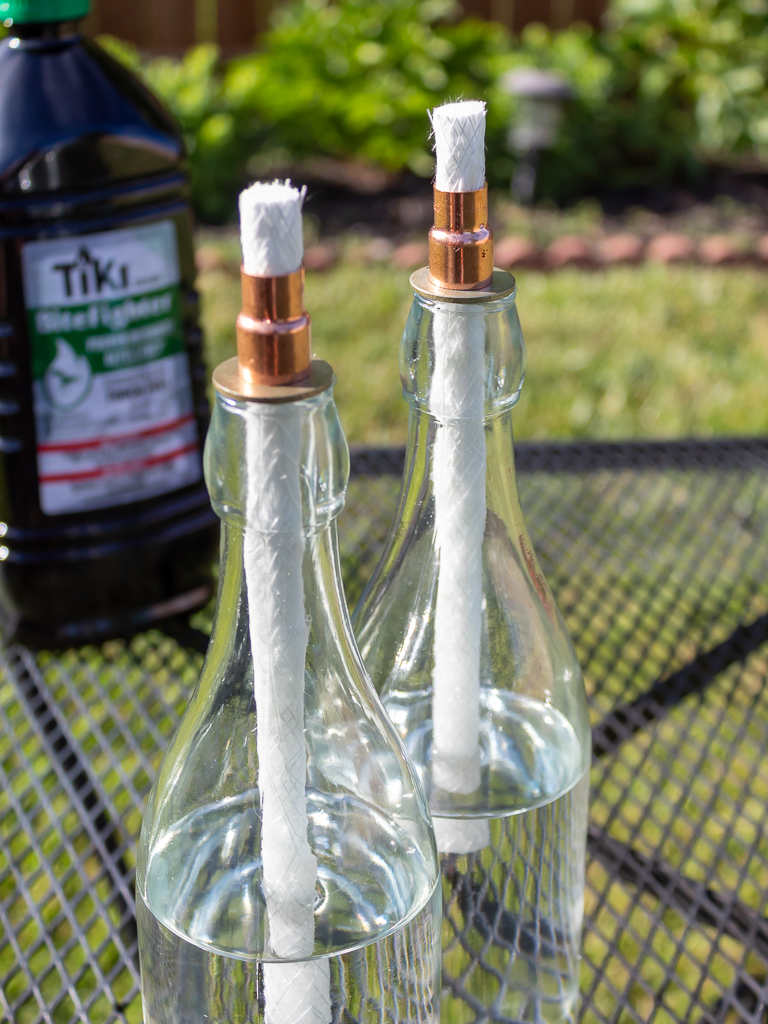
And that’s it…your table torches are done!
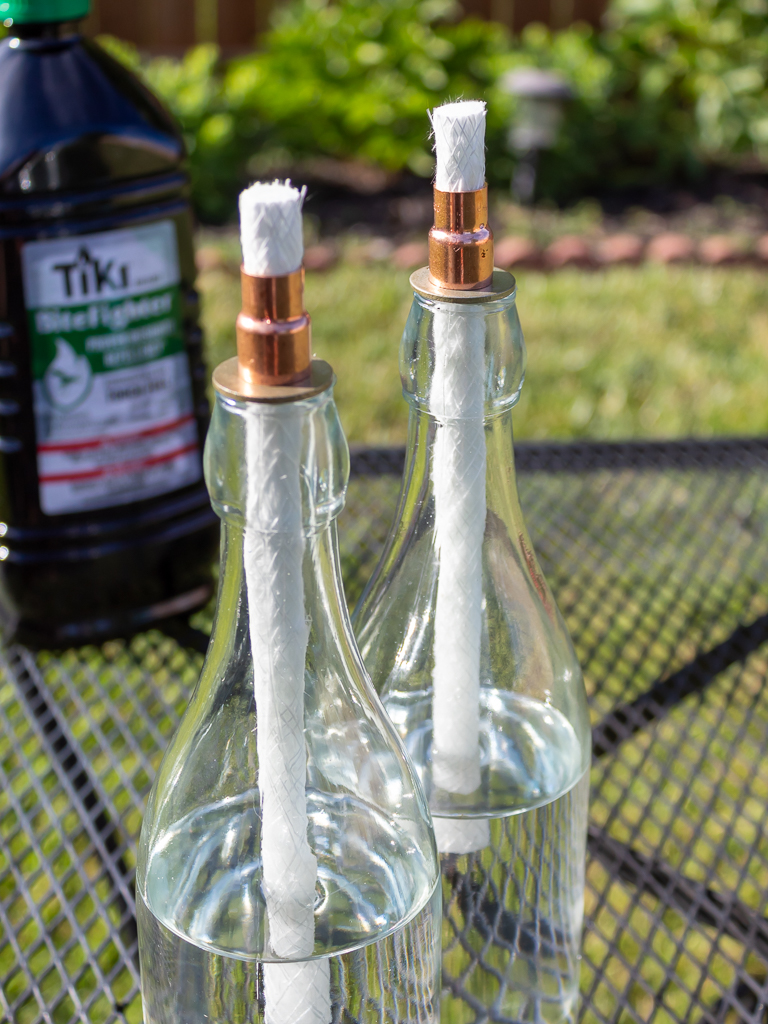
Now you can enjoy bug-free evenings on your patio or deck, or add a touch of ambiance to your backyard gatherings.
Step 4: Light Your DIY Tabletop Torch and Enjoy!
Once your DIY torches are assembled, use a candle lighter to light your citronella table torch.
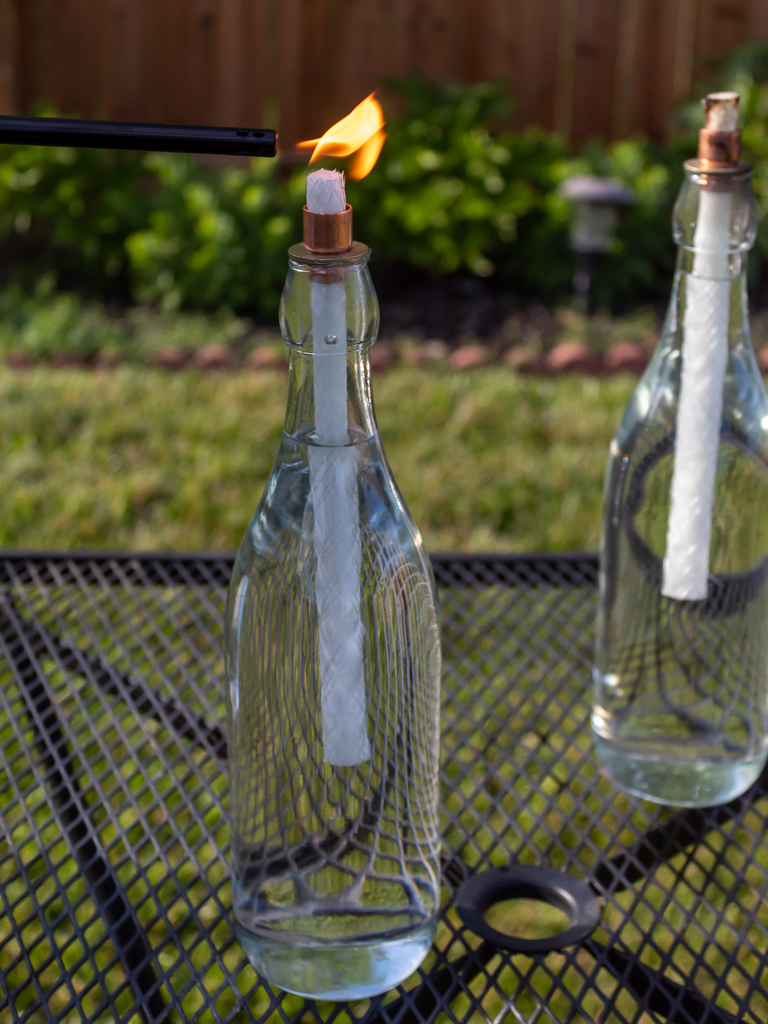
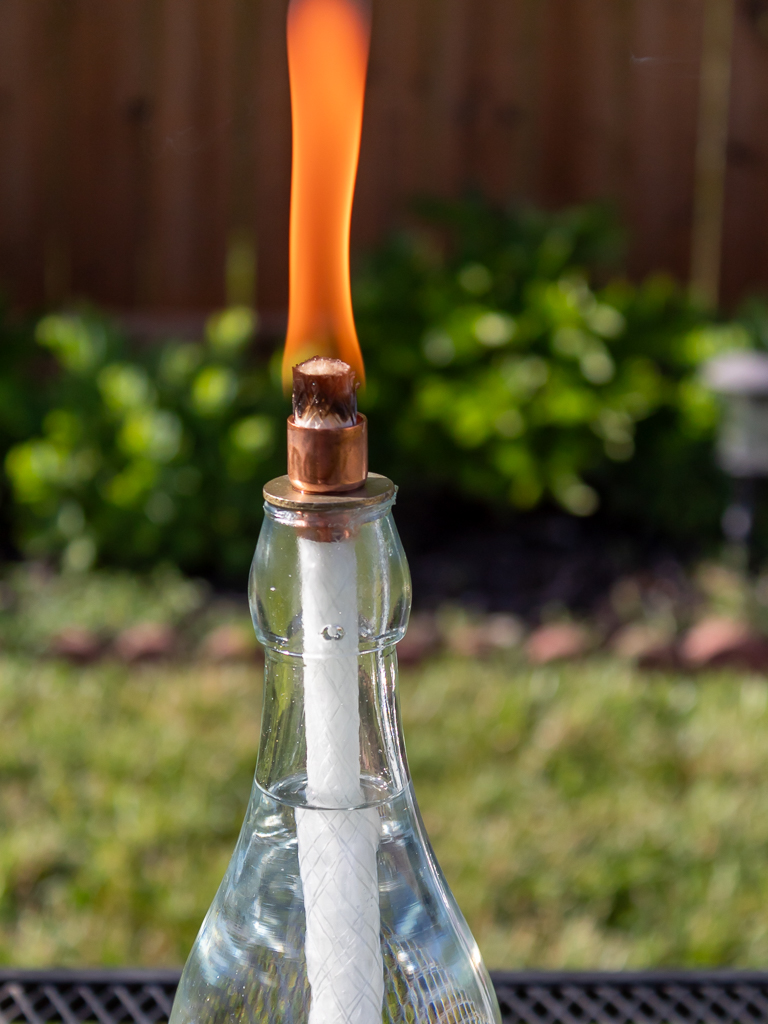
Then cozy up, and get ready to enjoy a relaxing mosquito-free night.
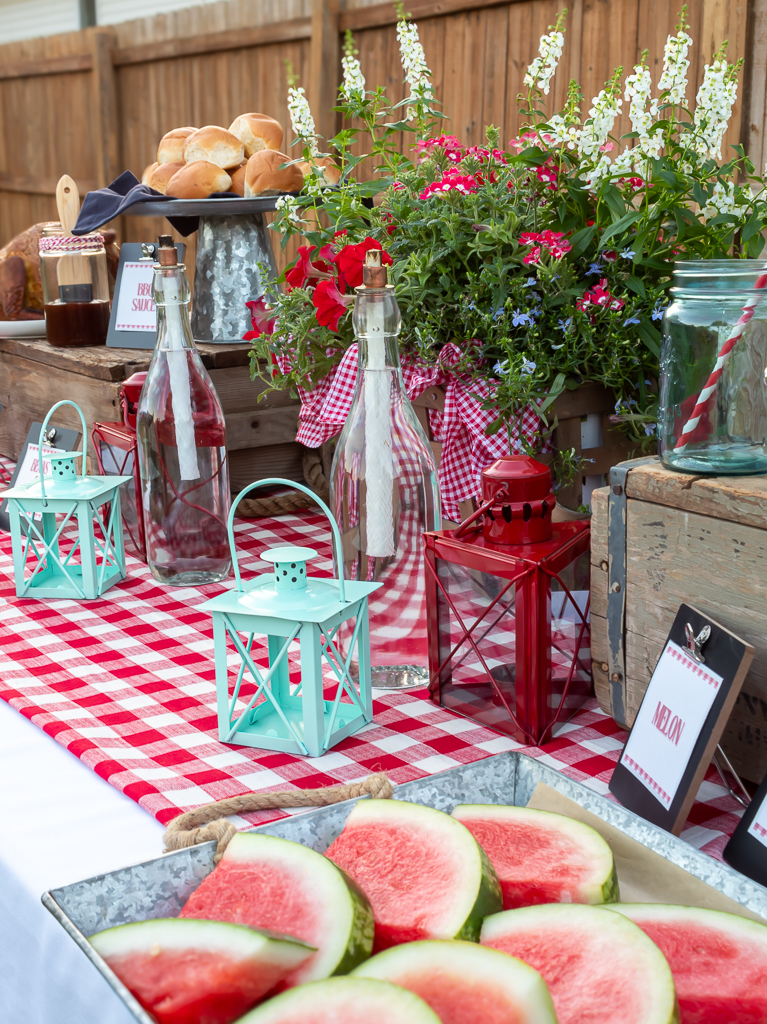
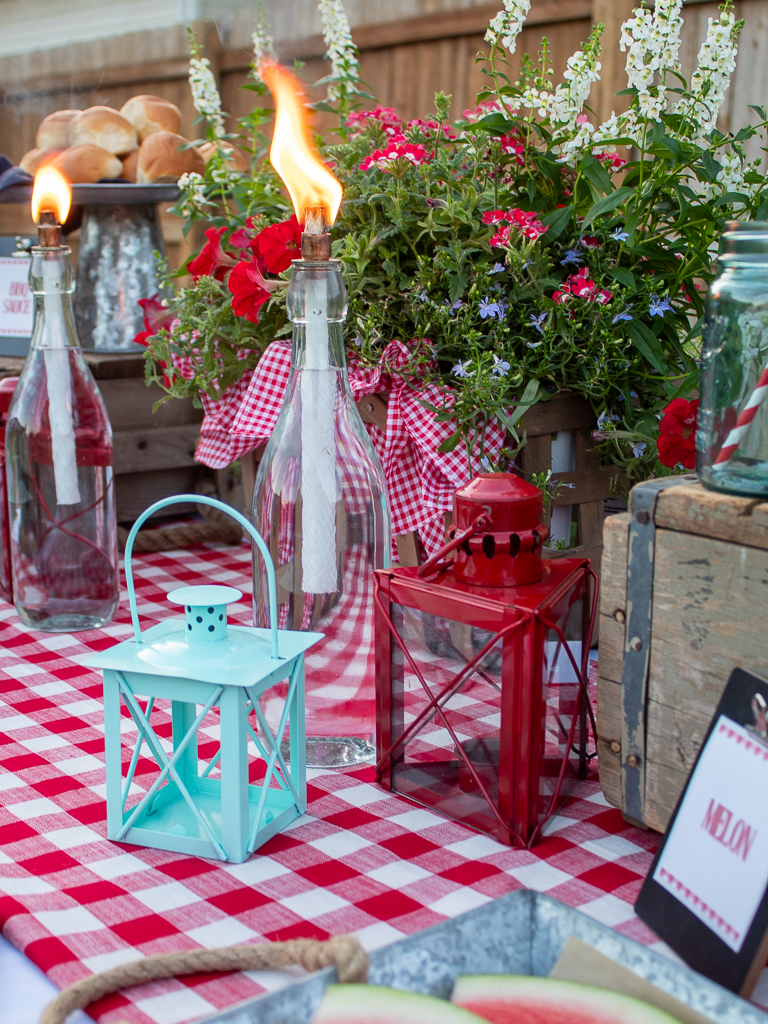
These tabletop torches are the perfect touch for any summer gathering!
Light them up for a backyard cookout, add some ambiance to a luau party, set the mood for a low country boil, or create a cozy atmosphere for a romantic date night under the stars.
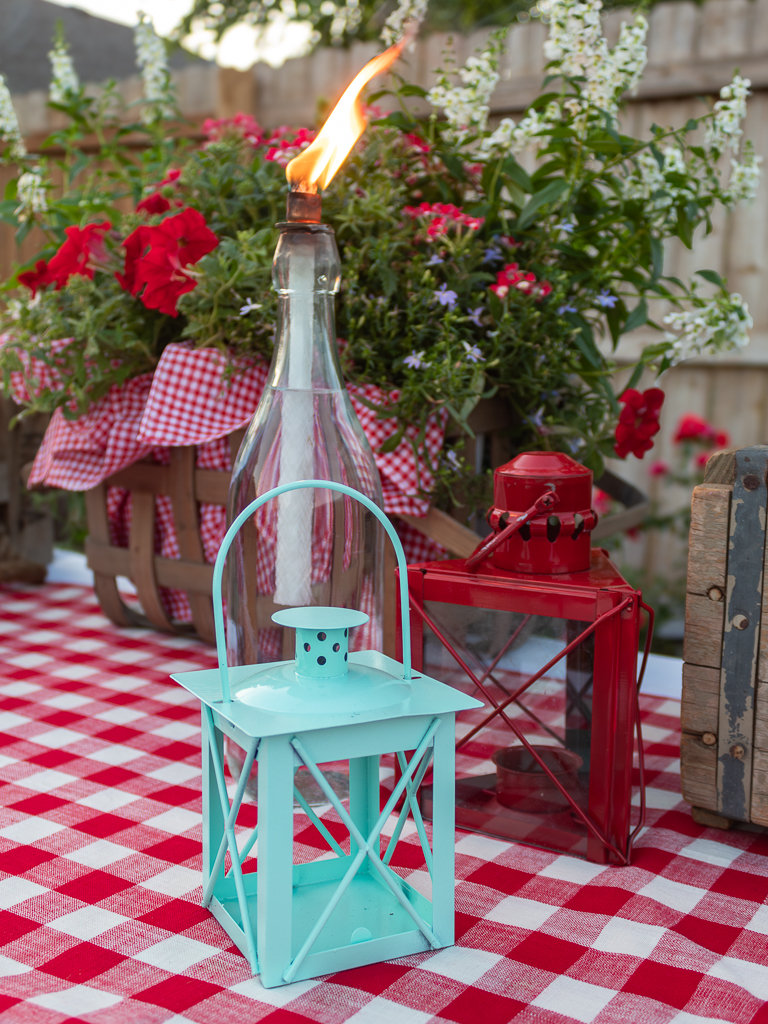
When you’re done enjoying your DIY tabletop torches, carefully put out the flames with a torch snuffer.
For safety, store your torches inside or under a covered area until you’re ready to use them again.
More Summer DIY Home and Garden Projects You’ll Love
If you enjoyed learning how to make these DIY tabletop torches, you might also enjoy these other outdoor home and garden projects.
Set the Mood for Outdoor Entertaining with Your Tabletop Torches
Thanks for joining me in making these fun DIY tabletop torches!
Where do you plan to put yours? Let me know in the comments below – by the pool, on the patio, or maybe even scattered around your garden?
I can’t wait to hear your ideas!
Happy summer!

Did You Enjoy this Post? PIN It for Later!
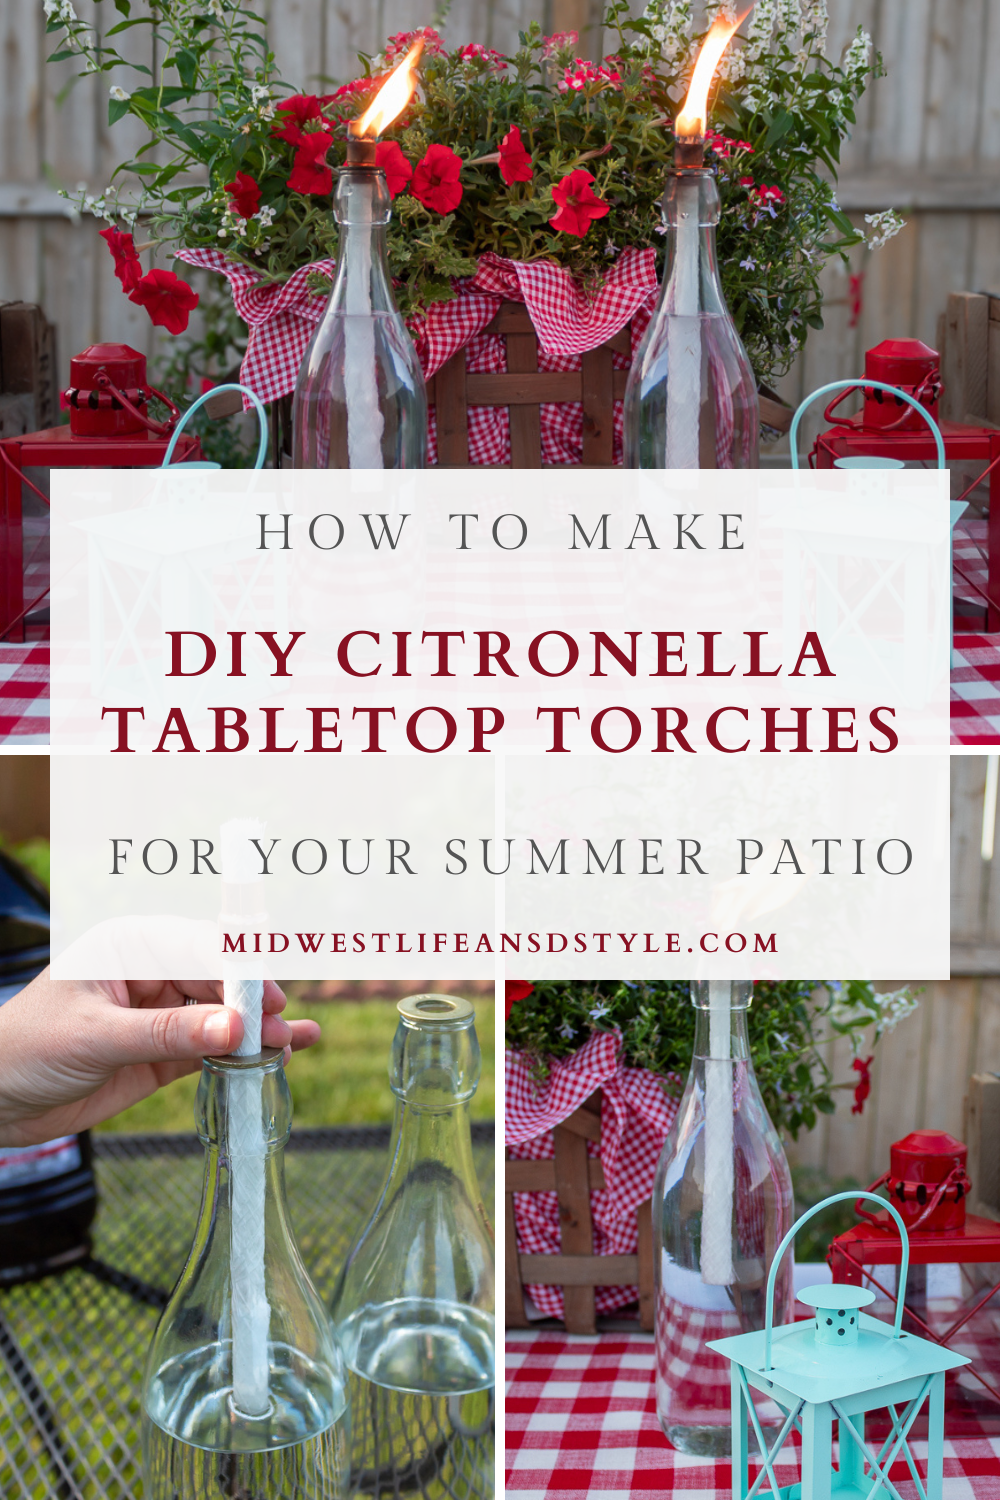


This is so professional looking, so smart and so adorable! Thank you for sharing it with us on Farmhouse Friday! I’m excited to feature it tomorrow. Hope you had a wonderful July 4th! pinned
Thank you, Cindy!
These are so clever, Jen… and make a great addition to a table! Simple but pretty! Thanks for sharing at Tuesday Turn About. I’m happy to be featuring your post this week!
Thanks so much, Julie!
SUCH a cool DIY for Summer, Jen!! Affordable and easy..that’s my jam!! Pinned!
Thanks, Rachel. I was even surprised by how easy they are to make. So fun and they really help keep our pesky mosquitos at bay!