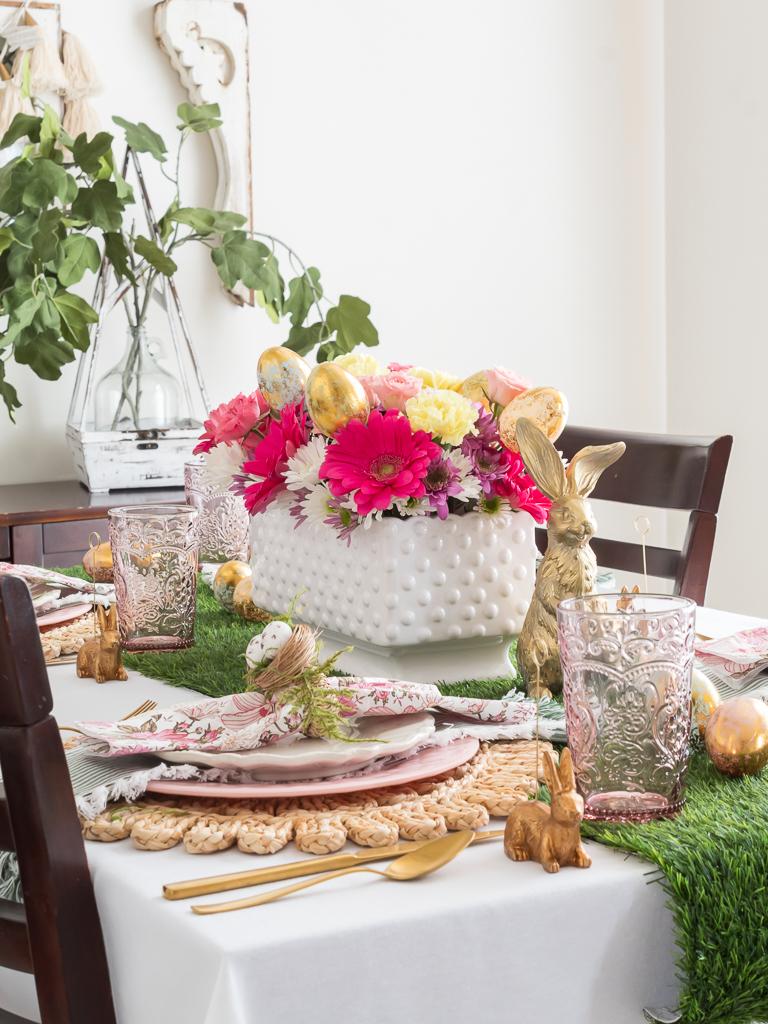
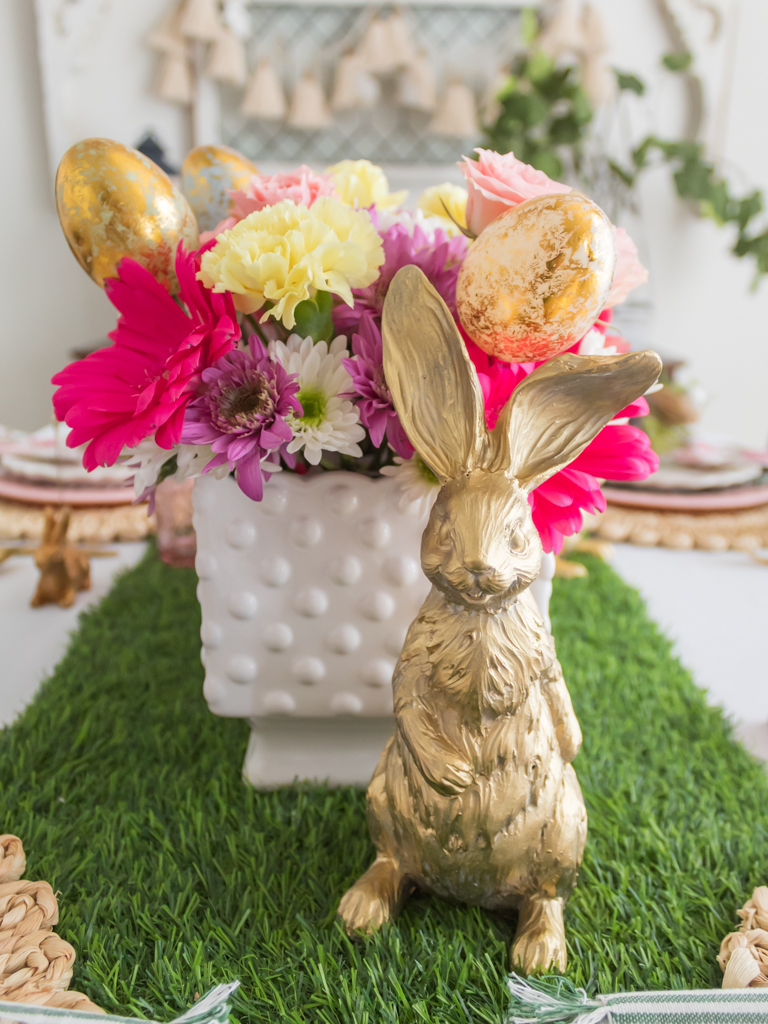
This DIY Easter centerpiece is the easiest and most budget-friendly way to dress up your holiday table! Made with fresh spring flowers and faux Easter eggs, this stunning floral arrangement comes together in under an hour and costs less than $20.
Shop The Post
All the items featured in this post are linked below for easy shopping.

*As an Amazon affiliate, I earn from qualifying purchases at no extra cost to you. My blog contains other affiliate links as well for your convenience. To learn more, you may read my Disclosure Policy. Thank you for supporting my blog!
Easter Centerpiece Ideas on a Budget: Beautiful Decor for Less
Spring is here, and Easter is right around the corner, which means it’s the perfect time to create a beautiful centerpiece that will wow your family and friends without breaking the bank!
Whether you’re looking for simple Easter centerpiece ideas on a budget, want to add a festive touch to your Easter brunch table, or just love a good DIY project, you’re in the right place.
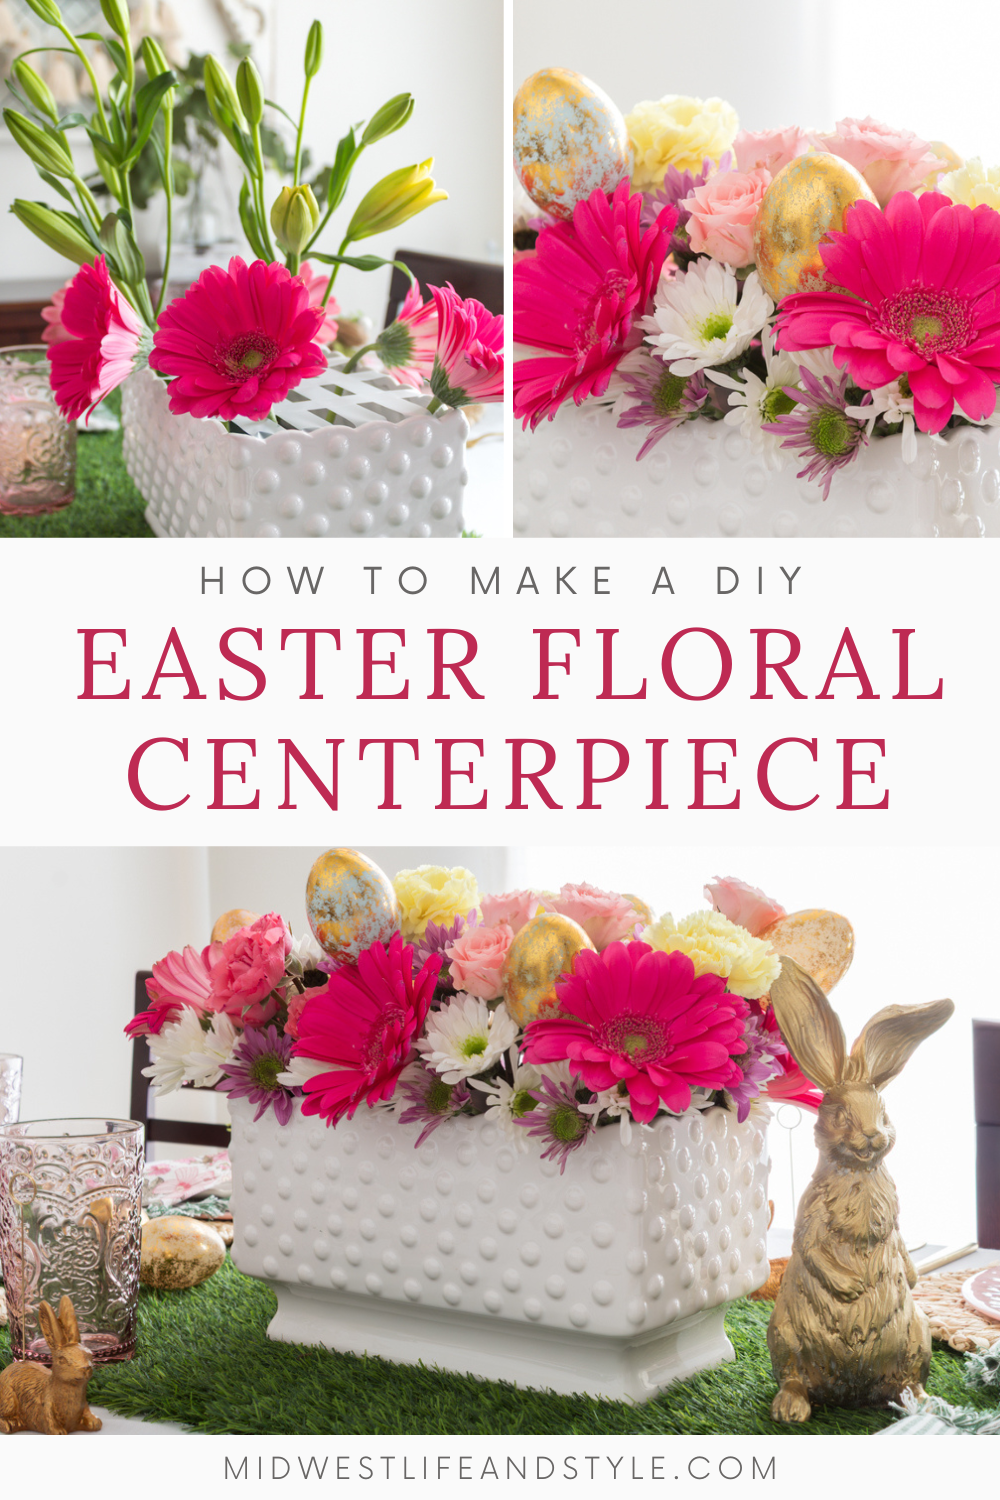
Made with colorful spring flowers from the grocery store and pastel plastic Easter eggs, this easy DIY Easter centerpiece is a budget-friendly way to add a festive touch to your Easter tablescape.
So, let’s dive in and create a beautiful centerpiece for your Easter table!
Why You’ll Love This DIY Easter Centerpiece
Table of Contents
- Easter Centerpiece Ideas on a Budget: Beautiful Decor for Less
- Why You’ll Love This DIY Easter Centerpiece
- Tools and Supplies Needed to Make this DIY Easter Floral Centerpiece
- How to Make a DIY Easter Table Centerpiece Step by Step
- More Easter Table Decorating Ideas for Your Holiday Gathering
- Frequently Asked Questions
- More Easter Inspiration You’ll Love
- Final Thoughts on This Budget-Friendly DIY Easter Centerpiece
- Did You Enjoy this Post? PIN It for Later!
Tools and Supplies Needed to Make this DIY Easter Floral Centerpiece
Here’s everything you’ll need to create a floral centerpiece for your own Easter table:
How to Make a DIY Easter Table Centerpiece Step by Step
Let me start by saying I’m no pro at floral arranging, but I do like to dabble.
So if you’re a novice and feeling a bit intimidated, don’t worry!
I promise, if you follow this simple five-step method, creating your own homemade DIY Easter centerpiece is easier than you think.
Step 1: Choose Your Flowers
Start by choosing a mix of flowers you love. I used daisies, roses, and carnations for a soft, spring look, but feel free to swap in whatever is available or fits your color palette.
Grocery store bouquets work perfectly here and are a budget-friendly option.
Crafting Tip
Trader Joe’s is my favorite place to find pretty, affordable flowers for creating your own arrangements. Grab several varieties, they’re usually just a couple of dollars each, and you can mix and match to create something really beautiful.
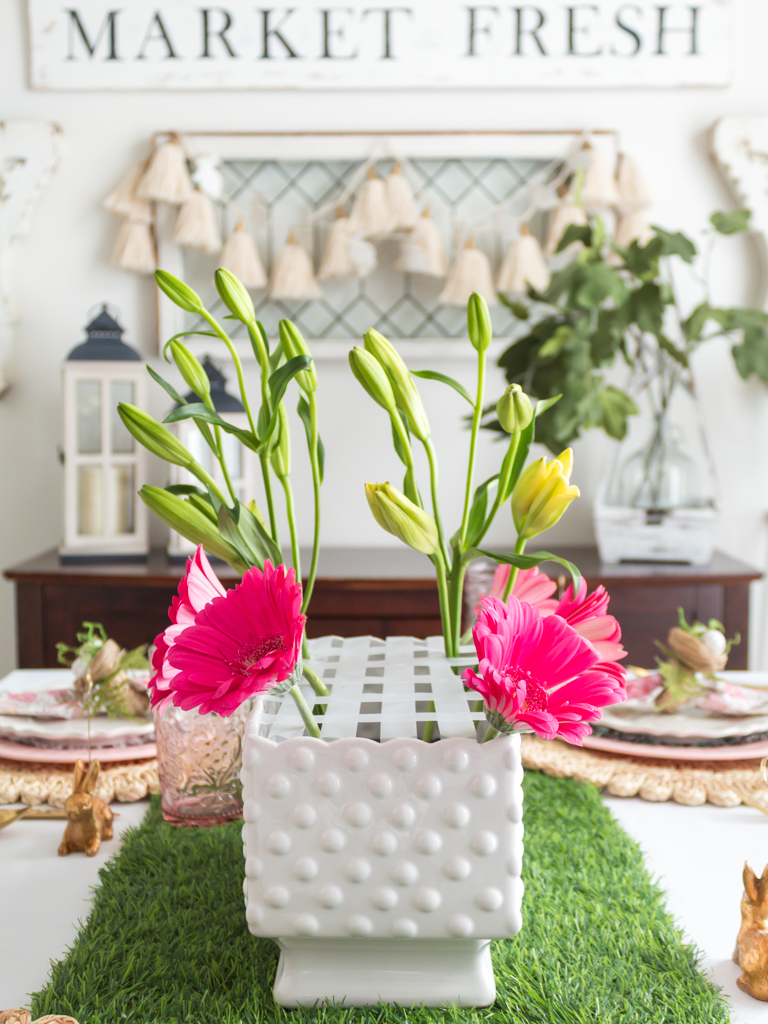
Step 2: Prepare Your Vase
First, fill your vase with water and add some floral food to help your flowers stay fresh. I know it’s easy to skip this step. (I’ve been guilty of it plenty of times!)
But if you’re going to take the time to make a centerpiece, you’ll want to enjoy it for as long as possible.
And a little floral food can go a long way in keeping your flowers looking fresh for days.
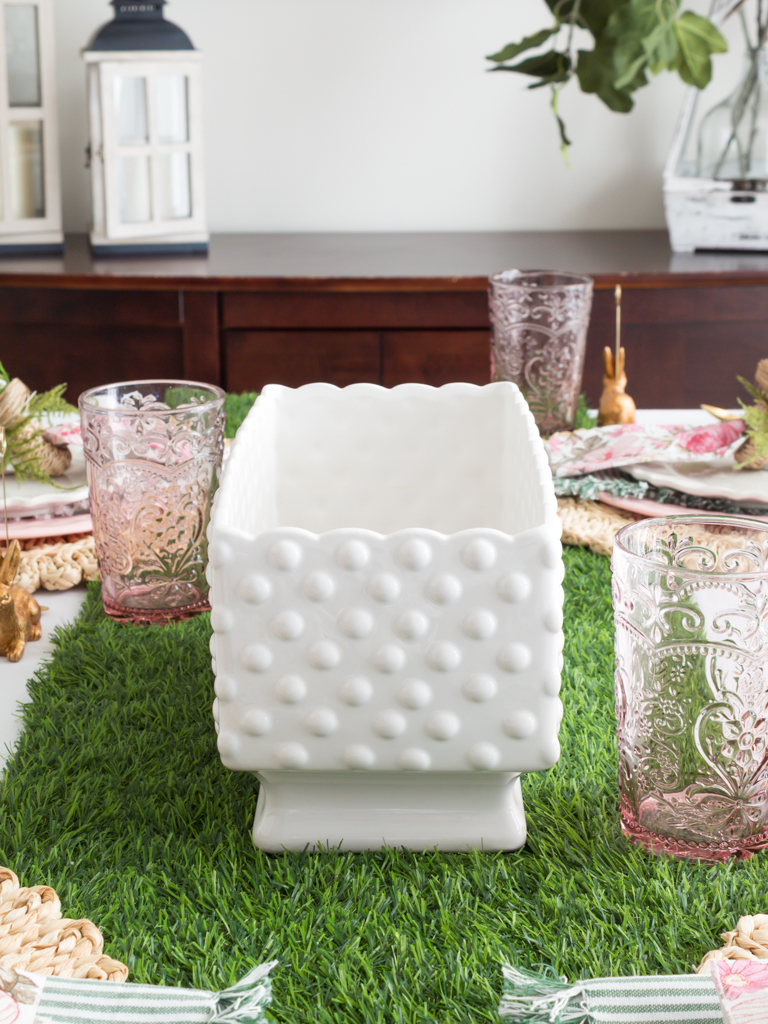
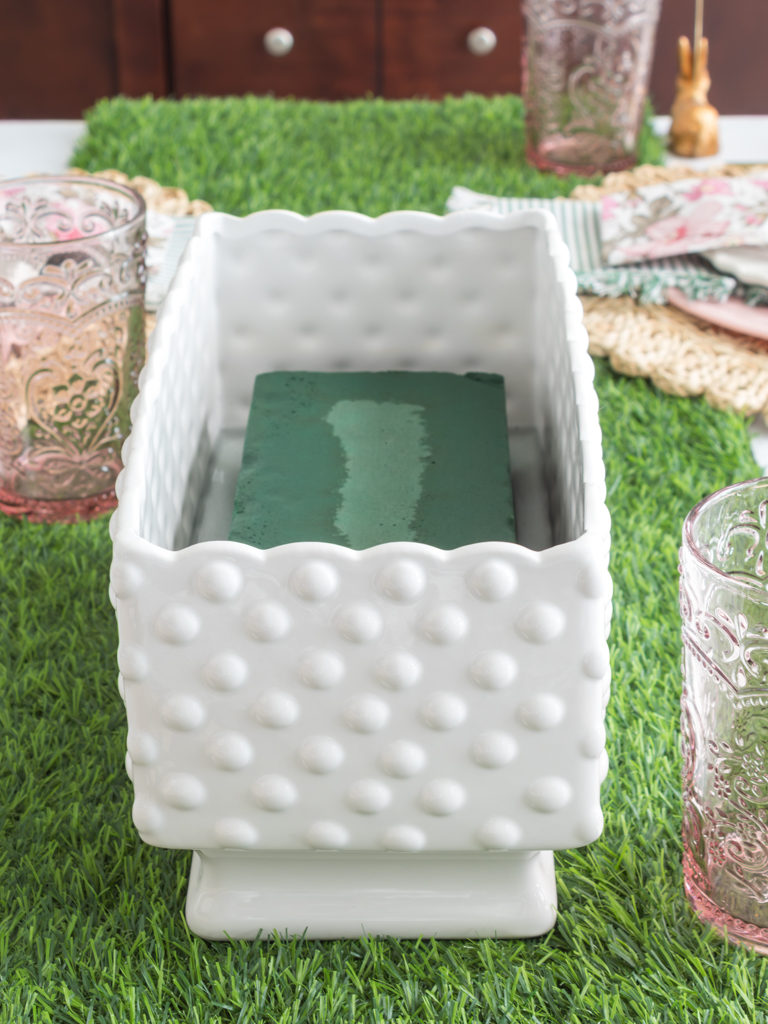
Once it’s dissolved, place a floral foam brick in the water. My foam brick fit perfectly in my rectangular hobnail vase, but if needed, you can use a sharp utility knife to cut the floral foam to the size and shape for your vase.
Make sure your foam fits snugly, and if it wobbles, use a bit of waterproof adhesive for floral tape to hold it firmly in place.
Once you have your floral foam in place, let it soak, but resist the urge to push it down.
It may seem counterintuitive, but floral foam is filled with tiny air pockets, and as it absorbs water, those air pockets disappear.
If you press it down, you might trap dry spots inside, and any flowers that reach these spots won’t have a water source, which means your beautiful Easter centerpiece won’t last as long.
Step 3: Create a Tape Grid
Next, use strips of Scotch tape to create a grid across the top of your vase. If you’ve never used this floral arranging trick before, it’s a game-changer!
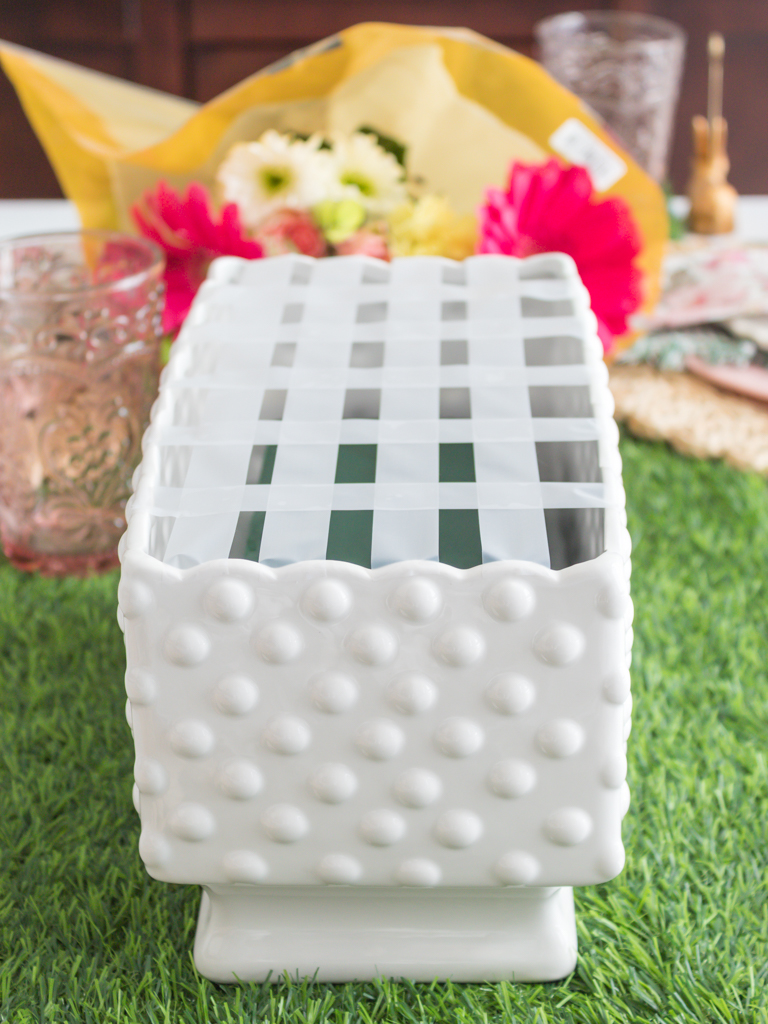
Using tape to create a grid not only helps to keep your flowers in place, but it also makes arranging them so much easier!
The grid helps hold each stem right where you want it, so they don’t all flop to the sides or bunch up in one spot, making it easy to get a balanced arrangement without all the frustration.
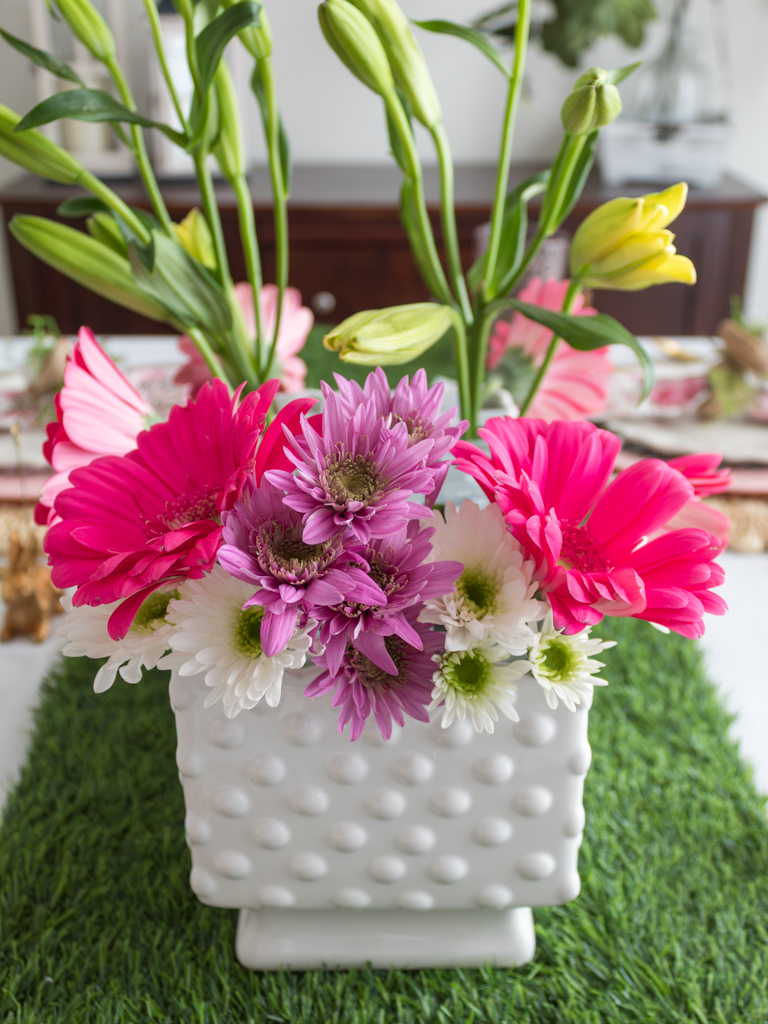
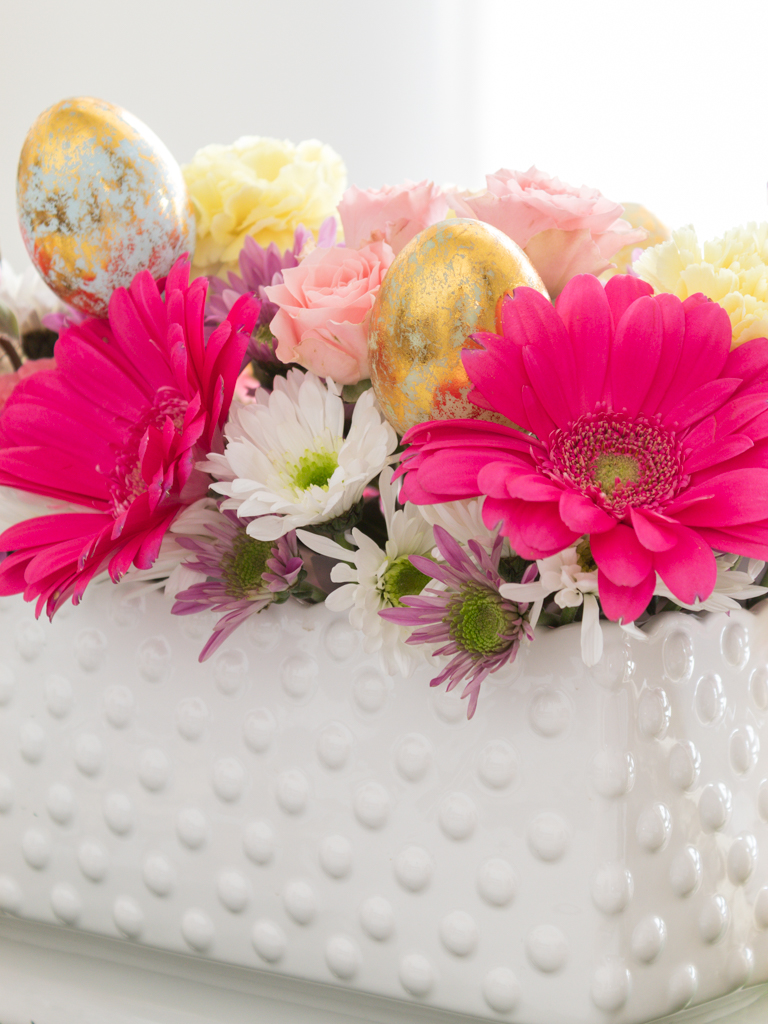
Step 4: Add Your Spring Flowers
Next, start adding your flowers one by one, beginning with the largest blooms and working your way down.
This adds fullness to your Easter floral centerpiece, giving it a more finished look.
I started with some big, bright pink Gerbera daisies, then layered in smaller purple and white daisies.

After that, I tucked in a few mini pink roses and pale yellow carnations for extra texture and color.
Don’t be afraid to tweak your Easter centerpiece as you go—one of the best parts of a DIY project is making it your own!
Step back every so often, turn your vase, and make little adjustments.
You can add or remove flowers as needed (did you notice from earlier photos that I nixed the Easter lilies?).
And if you spot any gaps, fill them in until everything looks just right.
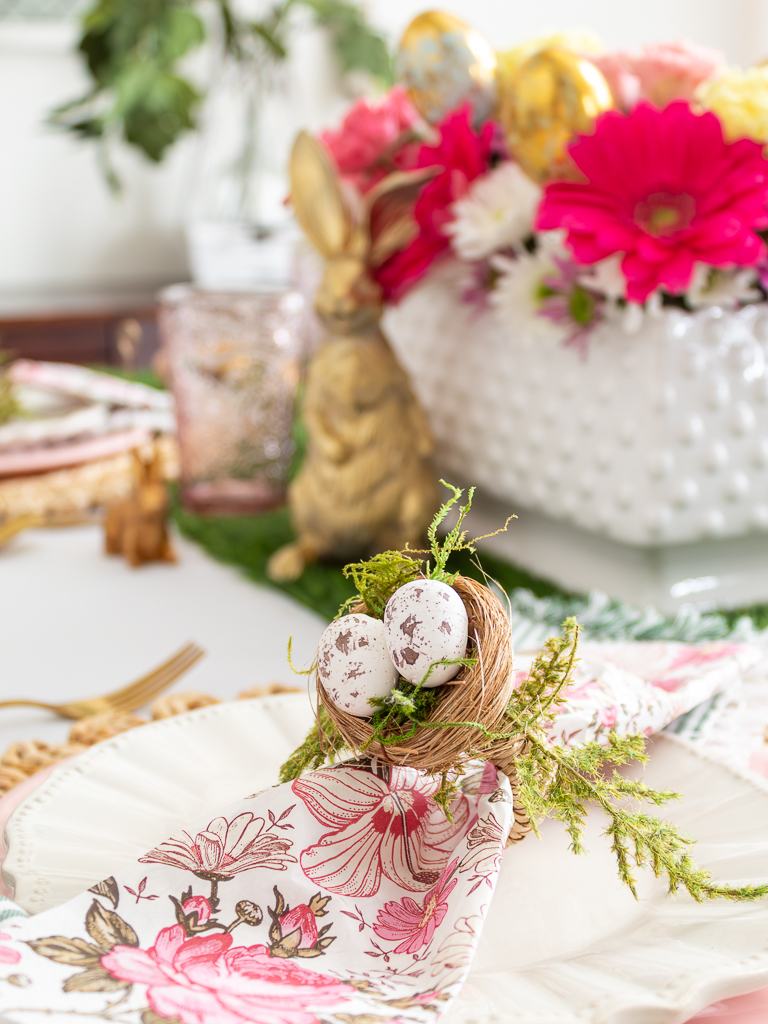
Step 5: Incorporate Faux Easter Eggs
To finish your DIY centerpiece, gently tuck a few faux Easter eggs into the arrangement.
You can either place them directly in the vase, scatter them around the base, or nestle them within the flowers for an extra charming touch.
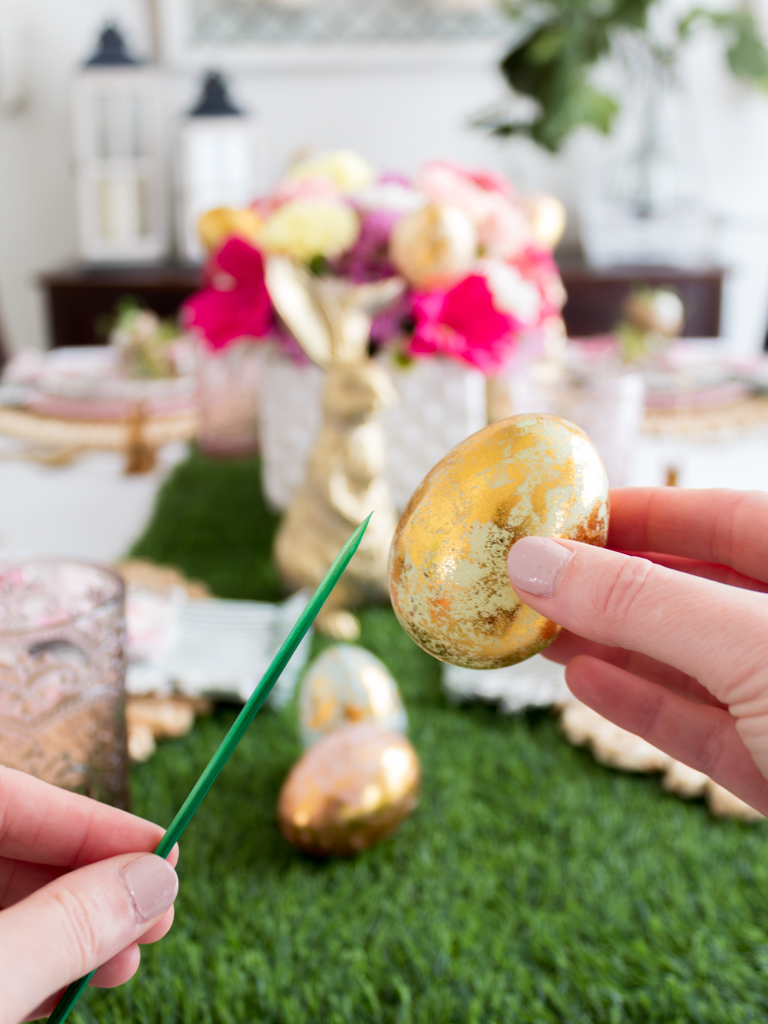
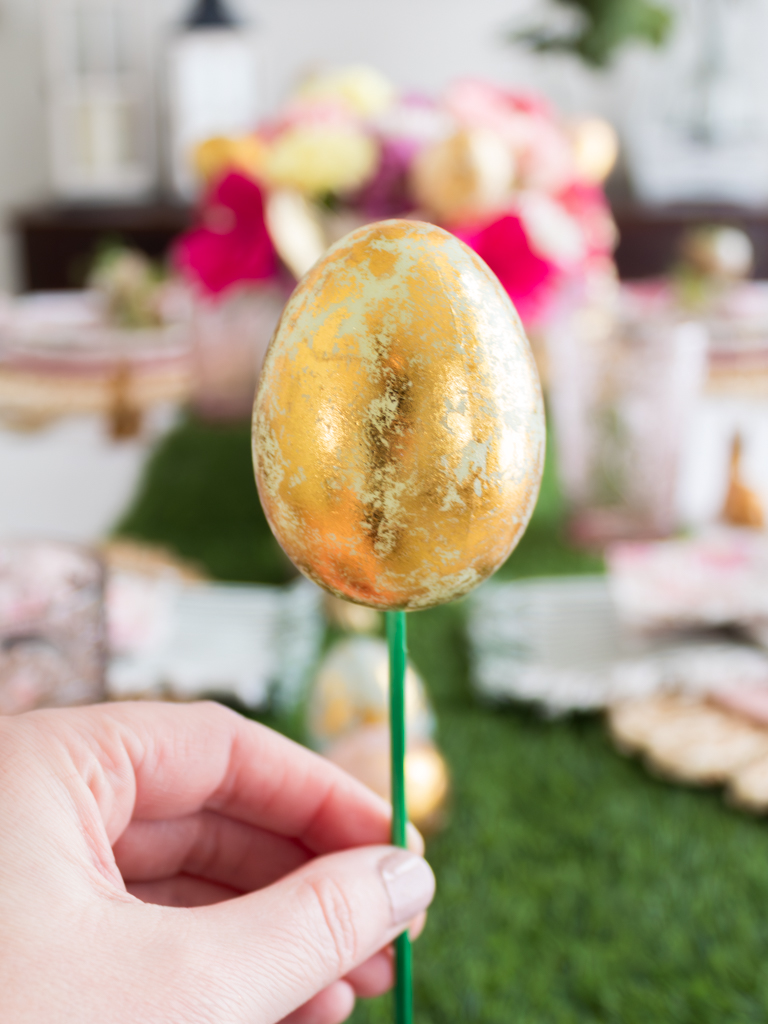
If you’d like to add your eggs as I did, you’ll need a bamboo skewer to secure them.
Be sure to trim the skewer to the right size so that the eggs tuck in nicely with the height of the arrangement.
I also took the extra step of using some leftover green spray paint to blend the skewers in with the flowers, but this step is totally optional!
Luckily, my eggs already had small holes at the bottom, so I simply wiggled the skewer into the hole and gently pushed it into the floral foam.
If you’re planning to do something similar, I’d recommend using hollow, soft plastic eggs like the ones I used—they’re easy to work with!
Feel free to add as many (or as few) eggs as you like until you’re happy with how the centerpiece looks.
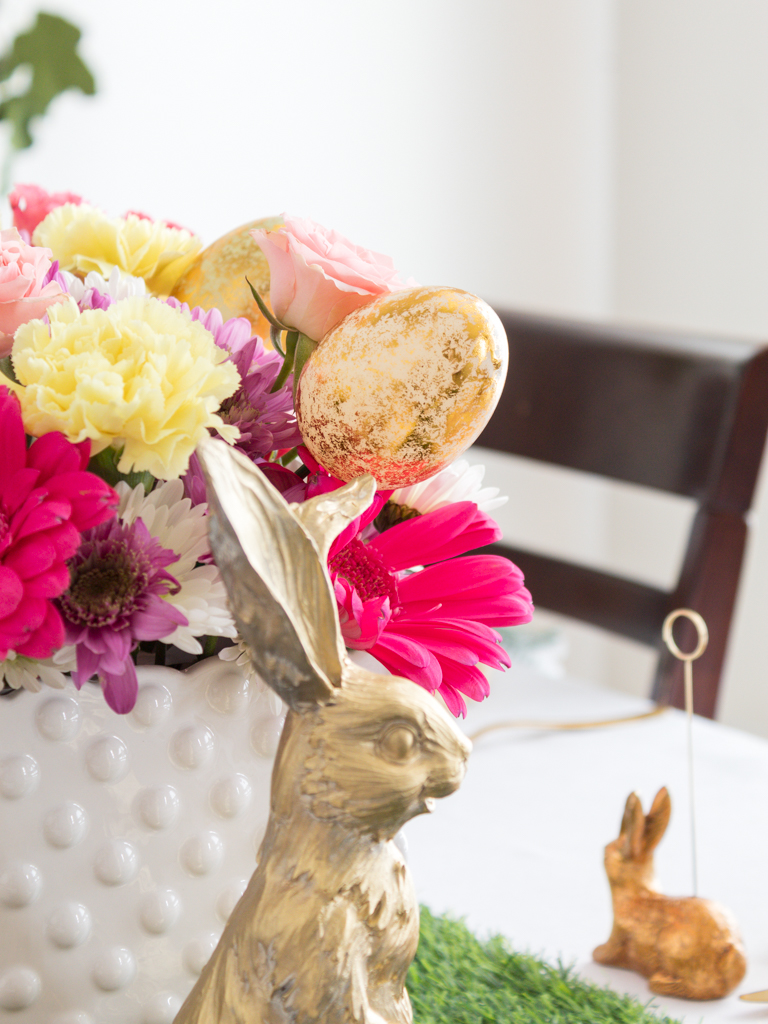
Step 6: Adjust and Display Your Centerpiece
After you’ve added all the flowers and the eggs, take a step back and make any final adjustments to your Easter centerpiece.
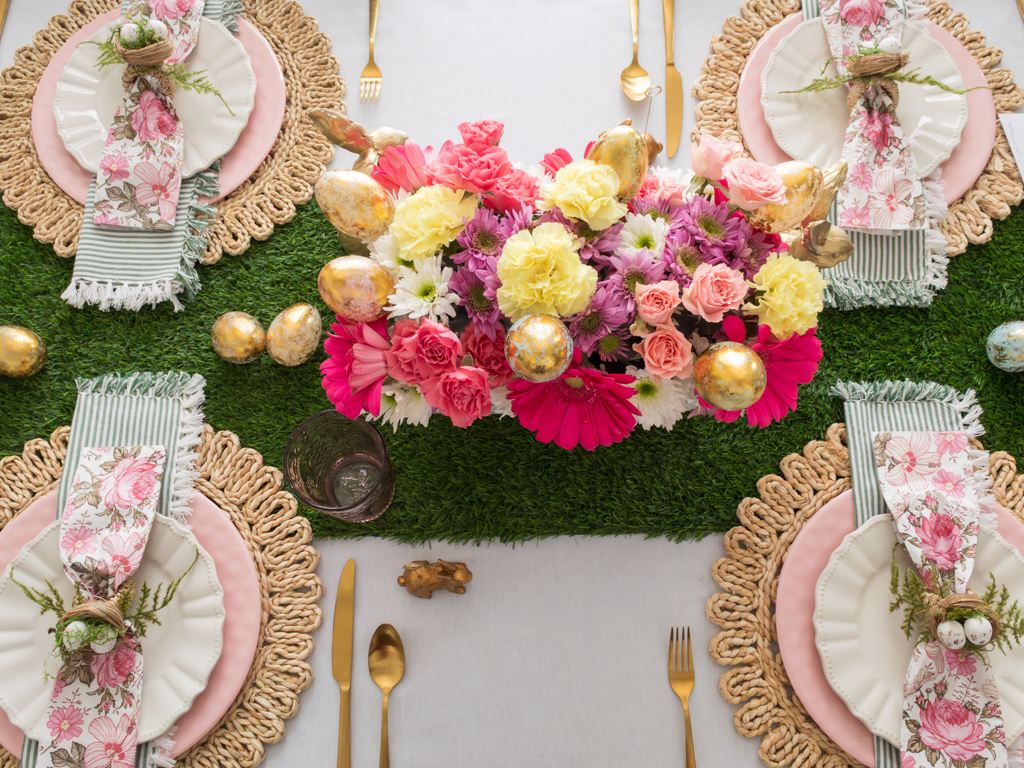
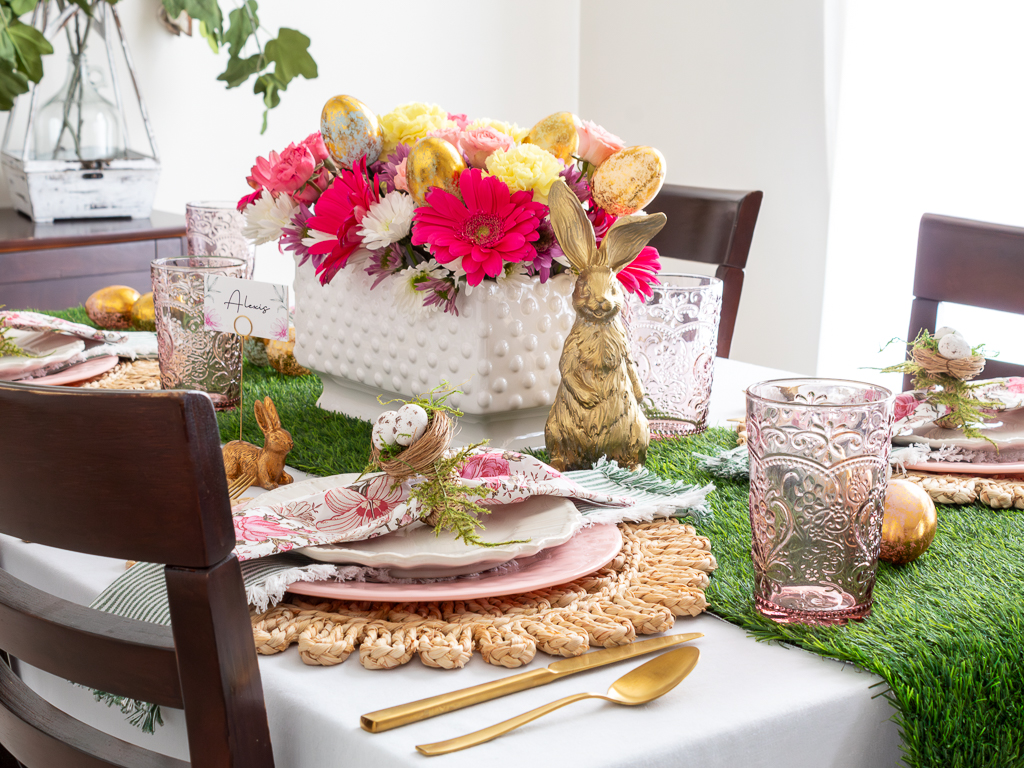
Then, place it in the center of your dining table to complete your Easter table decor.
More Easter Table Decorating Ideas for Your Holiday Gathering
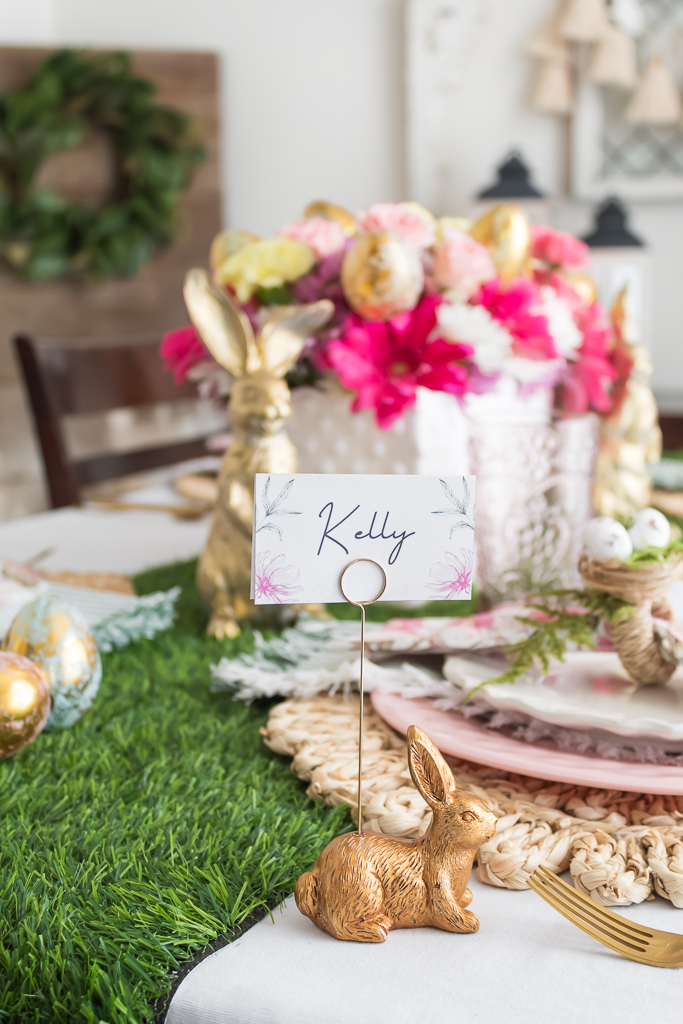
Now that your DIY Easter centerpiece is ready, it’s time to set the rest of your Easter table!
Here are a few Easter table decorating ideas to complement your floral arrangement:
Frequently Asked Questions
Q: What are some creative Easter centerpiece ideas for a family gathering?
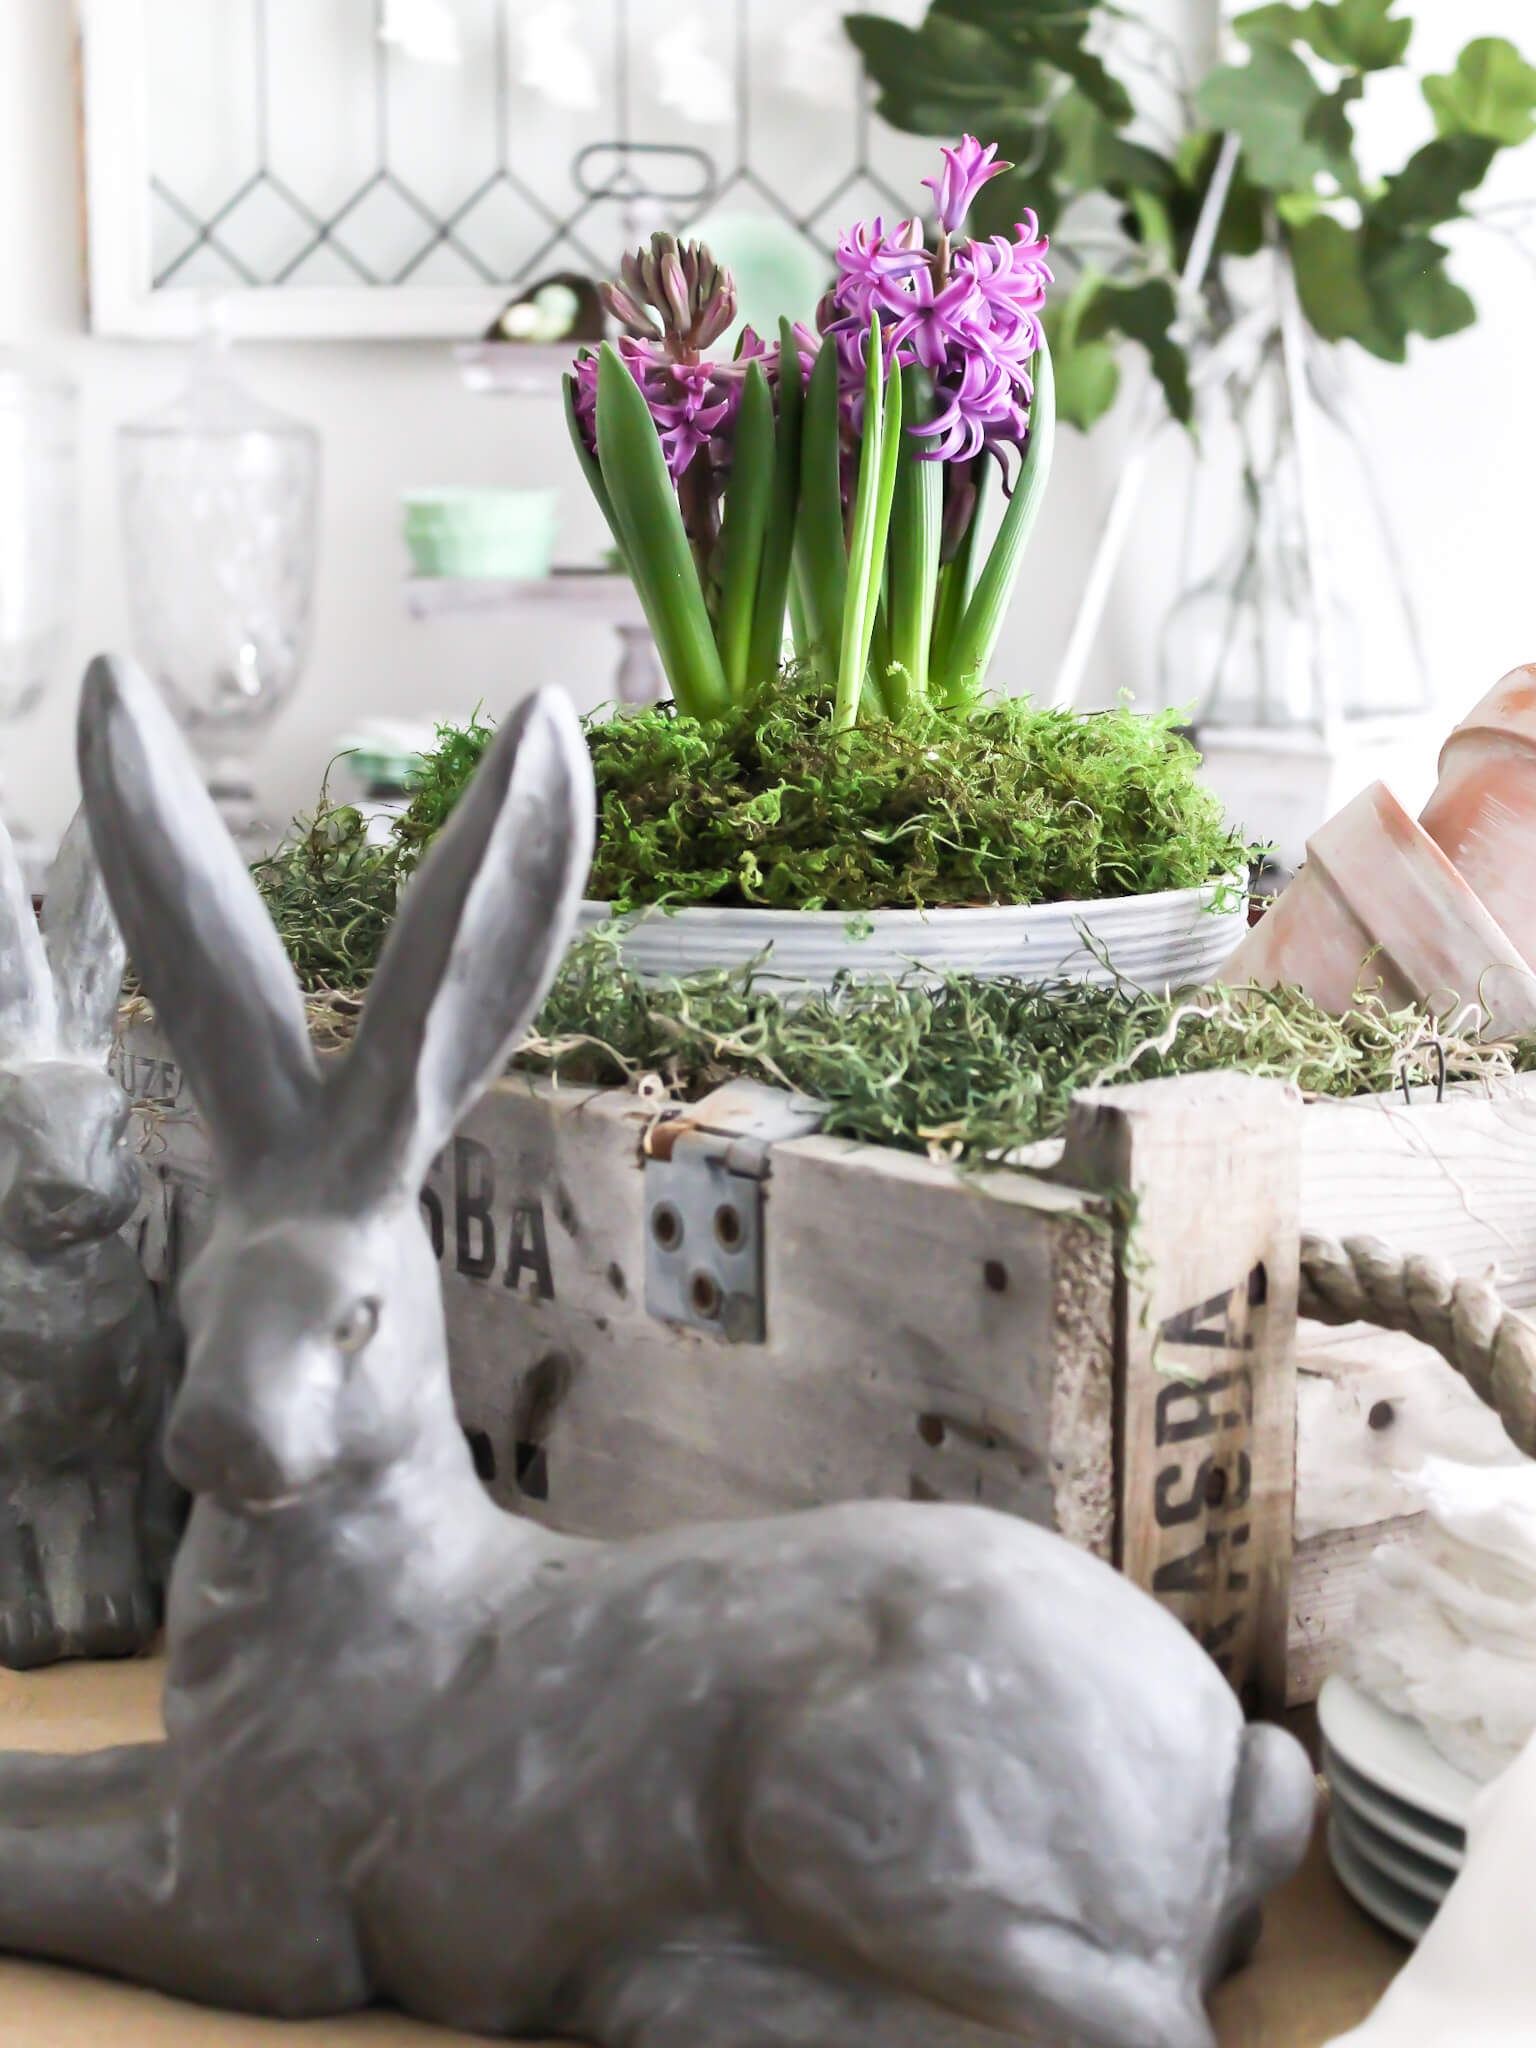
A: Fresh flower arrangements, spring plants potted in pretty aged planters, and Easter egg displays are all great options for a family gathering centerpiece. This DIY Easter centerpiece combines colorful spring blooms with faux Easter eggs for a festive, family-friendly look that’s easy to customize with your favorite colors and flowers!
Q: How do I make a floral Easter centerpiece that lasts throughout an Easter brunch?
A: To keep your Easter floral centerpiece looking fresh, use floral food in your water and let your floral foam soak fully before arranging. Trim your stems at an angle and keep your centerpiece out of direct sunlight. With a little care, a fresh flower Easter centerpiece can easily last 5 to 7 days.
Q: What are the best flowers for a DIY Easter centerpiece on a budget?
A: Grocery store flowers are your best friend! Gerbera daisies, carnations, and mini roses are affordable, last well in arrangements, and come in the soft pastel colors that are perfect for Easter. You can usually build a full DIY Easter floral centerpiece for under $20.
Q: How do I incorporate Easter eggs into a floral centerpiece?
A: Use hollow plastic Easter eggs and thread a bamboo skewer through the bottom. Trim the skewer to your desired height, then push it directly into the floral foam. It’s a simple trick that adds a whimsical, festive touch to any Easter arrangement!
More Easter Inspiration You’ll Love
If you love this DIY Easter centerpiece, you might also like some of my other favorite Easter crafts and DIY decor ideas:
Final Thoughts on This Budget-Friendly DIY Easter Centerpiece
And that’s it, friends!
This floral arrangement is proof that decorating for Easter doesn’t have to be complicated or expensive.
With a few fresh spring flowers, some faux Easter eggs, and a little creativity, you can easily create a stunning DIY centerpiece guaranteed to bring warmth and charm to your holiday table.
Whether you’re creating formal place settings or just looking for simple Easter table decorations, this easy Easter centerpiece DIY is a great way to celebrate the season.
Happy Easter,

Shop The Post
All the items featured in this post are linked below for easy shopping.
Did You Enjoy this Post? PIN It for Later!

Absolutely love this idea! It’s amazing how something so simple and budget-friendly can look so elegant. Perfect for adding a festive touch without the stress—definitely trying this for my Easter table next year!
Thank you so much!
SO pretty, Jen!! LOVE the hobnail vase…it’s so perfect for Easter and Spring! Your floral arranging looks pro…I love how you tucked those eggs in there, too!! Such a great idea. Pinned!
Thank you, Rachel! I appreciate it!